Diferencia entre revisiones de «Minicube-II B1: Assembly»
De WikiRobotics
(→Montaje) |
|||
| Línea 16: | Línea 16: | ||
|} | |} | ||
| − | == | + | == Assembling == |
| − | === ''' | + | === '''Step 1''': <font color=blue>Screw the MY1 module to Unimod 2D B1</font> === |
{| | {| | ||
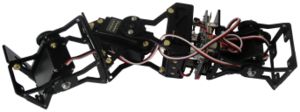
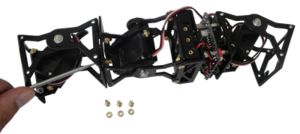
| − | || [[Imagen:Minicube-IIB-inicio-r2.jpg|thumb|300px|'''1)''' | + | || [[Imagen:Minicube-IIB-inicio-r2.jpg|thumb|300px|'''1)''' Place Unimod 2D-B1 and the MY1 module as shown in the figure ''(Click to enlarge)'']] |
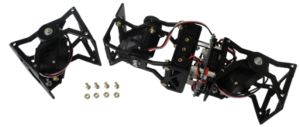
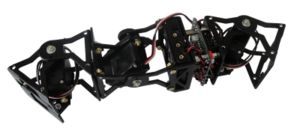
| − | || [[Imagen:Minicube-IIB-paso1-2-r2.jpg|thumb|300px|'''2)''' | + | || [[Imagen:Minicube-IIB-paso1-2-r2.jpg|thumb|300px|'''2)''' Attach the MY1 module to Unimod 2D-B1 ''(Click to enlarge)'']] |
|---------- | |---------- | ||
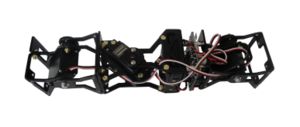
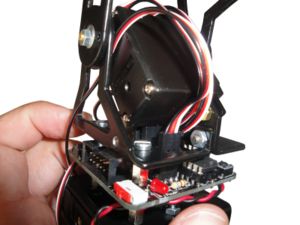
| − | || [[Imagen:Minicube-IIB-paso1-3-r2.jpg|thumb|300px|'''3)''' | + | || [[Imagen:Minicube-IIB-paso1-3-r2.jpg|thumb|300px|'''3)''' Screw the MY1 module to Unimod 2D-B1 ''(Click to enlarge)'']] |
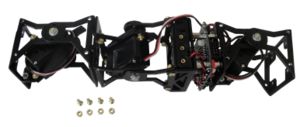
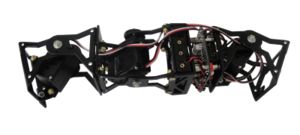
| − | || [[Imagen:Minicube-IIB-paso1-4-r2.jpg|thumb|300px|'''4)''' | + | || [[Imagen:Minicube-IIB-paso1-4-r2.jpg|thumb|300px|'''4)''' Place the 4 bolts and nuts ''(Click to enlarge)'']] |
|} | |} | ||
Revisión del 12:19 23 feb 2011
Contenido
Introduction
Minicube-II is a minimal configuration. It is the modular robot with the minimum number of modules capable of moving in 2D.
To build it, the following parts are needed:
- One MY1 module (Assembly instructions)
- One Unimod 2D type B1 (Assembly instructions)
- 4 M3 bolts. Length: 8mm
- 4 M3 nuts
| ]] |
Assembling
Step 1: Screw the MY1 module to Unimod 2D B1
Pasos 2: Conectar el servo del Módulo MY1 a la Skycube
Conectar el servo del módulo a la Skycube. Se puede conectar en cualquiera de los conectores libres
| |
Fotos
| Álbum de fotos |
Enlaces
Noticias
- 19/Abril/2010: Primera versión de esta página
